[基于Koa2框架的简单项目搭建及实战开发] 前言 Koa 是基于 Node.js 平台的下一代 web 开发框架,由express原班人马打造,致力于成为一个更小、更富有表现力、更健壮的 Web 框架。使用 koa 编写 web 应用,通过组合不同的 generator,可以免除重复繁琐的回调函数嵌套,并极大地提升错误处理的效率。koa 不在内核方法中绑定任何中间件,它仅仅提供了一个轻量优雅的函数库,使得编写 Web 应用变得得心应手。
此文是简单介绍使用kos2进行项目的基本搭建以及api的简单开发
搭建环境 1、Koa框架是基于node.js的,安装node是必须进行的第一步,这里就不在赘述了
2、安装koa(推荐使用淘宝镜像进行安装)
3、全局安装Koa2的项目生成器
1 cnpm install koa-generator -g
4、创建一个项目
5、进入这个项目文件夹,下载依赖包
1
2
cd myProjectcnpm install
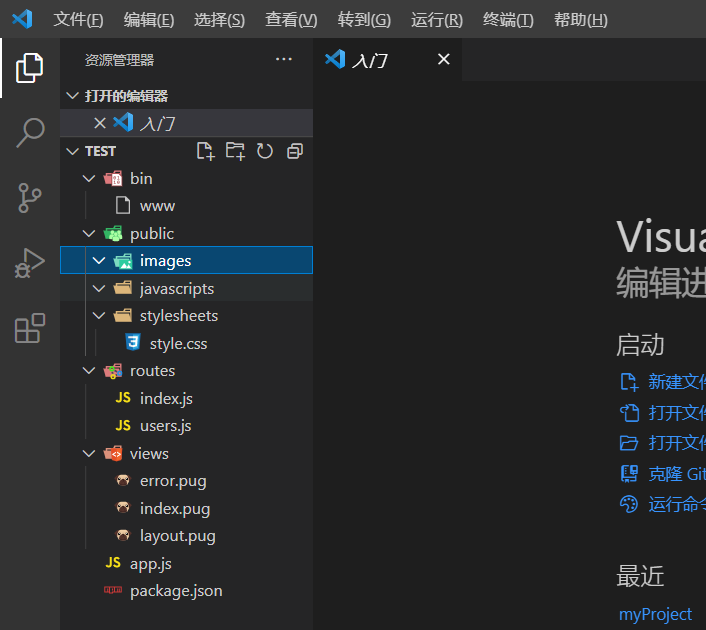
koa2 myProject 是用来生成项目的几门架构的
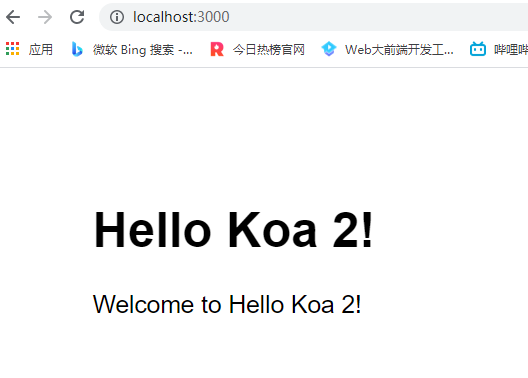
6、接下来,我们就可以启动项目服务了
1
2
3
npm run dev or npm start
访问http://localhost:3000/即可查看项目的运行实况
安装sequelize (Sequelize是一个基于promise的nodejs ORM,目前支持Postgres、mysql、SQLite和Microsoft SQL Server。它具有强大的事务支持,关联关系,读取和复制等功能。)
1 cnpm install sequelize --save
安装mysql、mysql2 项目使用的是mysql的数据库
1 cnpm install mysql mysql2 --save
配置Sequelize的数据库链接 在项目的根目录下创建一个config目录,config目录中创建db.js,该文件主要用来创建mysql的数据库链接的。/config/db.js
1
2
3
4
5
6
7
8
9
10
11
12
13
14
15
16
17
18
19
20
21
22
23
24
25
26
27
28
29
const Sequelize = require ('sequelize' );const sequelize = new Sequelize('koa_demo' , 'root' , '123456' , { host: 'localhost' , port: 3306 , dialect: 'mysql' , operatorsAliases: false , dialectOptions: { charset: 'utf8' , collate: 'utf8_general_ci' , supportBigNumbers: true , bigNumberStrings: true }, poll: { max: 5 , min: 0 , acquire: 30000 , idle: 10000 }, timezone: 'Asia/Shanghai' }); module .exports = { sequelize };
其中koa_demo为数据库名称,root为数据库用户名,123456为数据库密码,这是我自己本地的默认数据库信息
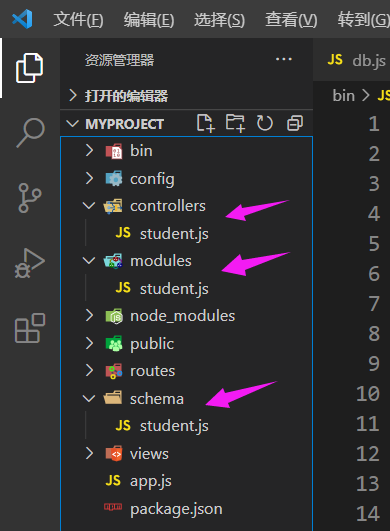
创建schema、modules、controllers schema:数据表模型实例
3个目录下分别创建student.js
schema数据表模型 在schema目录下新建一个student.js文件,该文件的主要作用就是建立与数据表的对应关系,也可以理解为代码的建表。schema/student.js
1 2 3 4 5 6 7 8 9 10 11 12 13 14 15 16 17 18 19 20 21 22 23 24 25 26 27 28 29 30 31 32 33 34 35 36 37 38 39 40 41 42 43 44 45 46 47 48 49 50 51 52 53 54 55 56 module .exports = function (sequelize, DataTypes ) return sequelize.define('student' , { id: { type: DataTypes.INTEGER, primaryKey: true , allowNull: true , autoIncrement: true }, name: { type: DataTypes.STRING, allowNull: false , field: 'name' }, married: { type: DataTypes.STRING, allowNull: true , field: 'married' }, age: { type: DataTypes.INTEGER, allowNull: false , field: 'age' }, gender: { type: DataTypes.STRING, allowNull: false , field: 'gender' }, grade: { type: DataTypes.STRING, allowNull: false , field: 'grade' }, createdAt: { type: DataTypes.DATE }, updatedAt: { type: DataTypes.DATE } }, { freezeTableName: true }); }
模型应用、使用 在项目中modules目录下创建student.js文件,为学生信息表,该文件为文章的实例。
1 2 3 4 5 6 7 8 9 10 11 12 13 14 15 16 17 18 19 20 21 22 23 24 25 26 27 28 29 30 31 32 33 34 35 36 37 38 39 40 41 42 const db = require ('../config/db' );const { QueryTypes, DataTypes } = require ('sequelize' )const Sequelize = db.sequelize;const student = require ('../schema/student' )(Sequelize, DataTypes);student.sync({ force : false }); class studentModel static async createStudent (data ) return await student.create({ name: data.name, age: data.age, gender: data.gender, grade: data.grade, married: data.married, }); } static async getStudentDetail (id ) return await student.findOne({ where: { id } }); } } module .exports = studentModel;
controllers 控制器 控制器的主要作用为功能的处理,项目中controllers目录下创建student.js,代码如下:
1
2
3
4
5
6
7
8
9
10
11
12
13
14
15
16
17
18
19
20
21
22
23
24
25
26
27
28
29
30
31
32
33
34
35
36
37
38
39
40
41
42
43
44
45
46
47
48
49
50
51
52
53
54
55
56
57
58
59
60
61
62
63
64
65
66
67
68
69
70
71
72
73
74
75
76
const StudentModel = require ("../modules/student" );class studentController static async create (ctx ) let req = ctx.request.body; if (req.name && req.age && req.gender && req.grade && req.married) { try { const ret = await StudentModel.createStudent(req); const data = await StudentModel.getStudentDetail(ret.id); ctx.response.status = 200 ; ctx.body = { code: 200 , msg: '创建学生信息成功' , data } } catch (err) { ctx.response.status = 412 ; ctx.body = { code: 412 , msg: '创建学生信息失败' , data: err } } } else { ctx.response.status = 416 ; ctx.body = { code: 200 , msg: '参数不齐全' } } } static async detail (ctx ) let id = ctx.params.id; if (id) { try { let data = await StudentModel.getStudentDetail(id); ctx.response.status = 200 ; ctx.body = { code: 200 , msg: '查询成功' , data } } catch (err) { ctx.response.status = 412 ; ctx.body = { code: 412 , msg: '查询失败' , data } } } else { ctx.response.status = 416 ; ctx.body = { code: 416 , msg: '学生ID必须传' } } } } module .exports = studentController;
路由 路由,也可以简单理解为路径,主要是作为请求的url,请求的路径来处理一些请求,返回数据。一般情况下,基于node的项目,路由都是在一个叫做routes的目录下面。
routes目录下创建student.js,代码如下:
1
2
3
4
5
6
7
8
9
10
11
12
13
14
15
const router = require ('koa-router' )()const StudentController = require ('../controllers/student' );router.prefix('/student' ) router.post('/student/create' , StudentController.create); router.get('/student/:id' , StudentController.detail) module .exports = router
然后在app.js添加如下内容
1
2
const student = require ('./routes/student' )app.use(student.routes(), student.allowedMethods())
注意koa框架的洋葱圈模型,不懂得可以去自行查询
解决跨域 跨域是web开发中不可避免的一个必须要解决的问题了。跨域问题,主要是要解决服务器端的通信问题。在node的开发中,只需要实现一个CORS标准就可以了。
1 cnpm install koa-cors --save
然后在根目录下的app.js加入koa-cors的引用:
1
2
const cors = require('koa-cors' ) app.use(cors()) //使用cors
同理:注意koa框架的洋葱圈模型,不懂得可以去自行查询
完整的app.js文件代码如下:
1
2
3
4
5
6
7
8
9
10
11
12
13
14
15
16
17
18
19
20
21
22
23
24
25
26
27
28
29
30
31
32
33
34
35
36
37
38
39
40
41
42
43
44
45
46
47
48
49
50
const Koa = require ('koa' )const app = new Koa()const views = require ('koa-views' )const json = require ('koa-json' )const onerror = require ('koa-onerror' )const bodyparser = require ('koa-bodyparser' )const logger = require ('koa-logger' )const index = require ('./routes/index' )const users = require ('./routes/users' )const cors = require ('koa-cors' )const student = require ('./routes/student' )onerror(app) app.use(bodyparser({ enableTypes: ['json' , 'form' , 'text' ] })) app.use(json()) app.use(logger()) app.use(require ('koa-static' )(__dirname + '/public' )) app.use(views(__dirname + '/views' , { extension: 'pug' })) app.use(async (ctx, next) => { const start = new Date () await next() const ms = new Date () - start console .log(`${ctx.method} ${ctx.url} - ${ms} ms` ) }) app.use(index.routes(), index.allowedMethods()) app.use(users.routes(), users.allowedMethods()) app.on('error' , (err, ctx ) => { console .error('server error' , err, ctx) }); app.use(student.routes(), student.allowedMethods()) app.use(cors()); module .exports = app
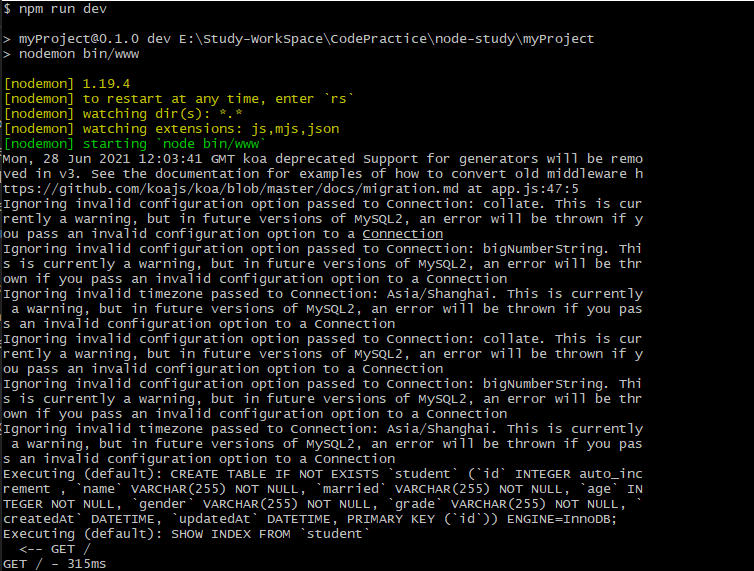
然后重启项目
如果启动过程中出现上图的结果,说明服务启动成功
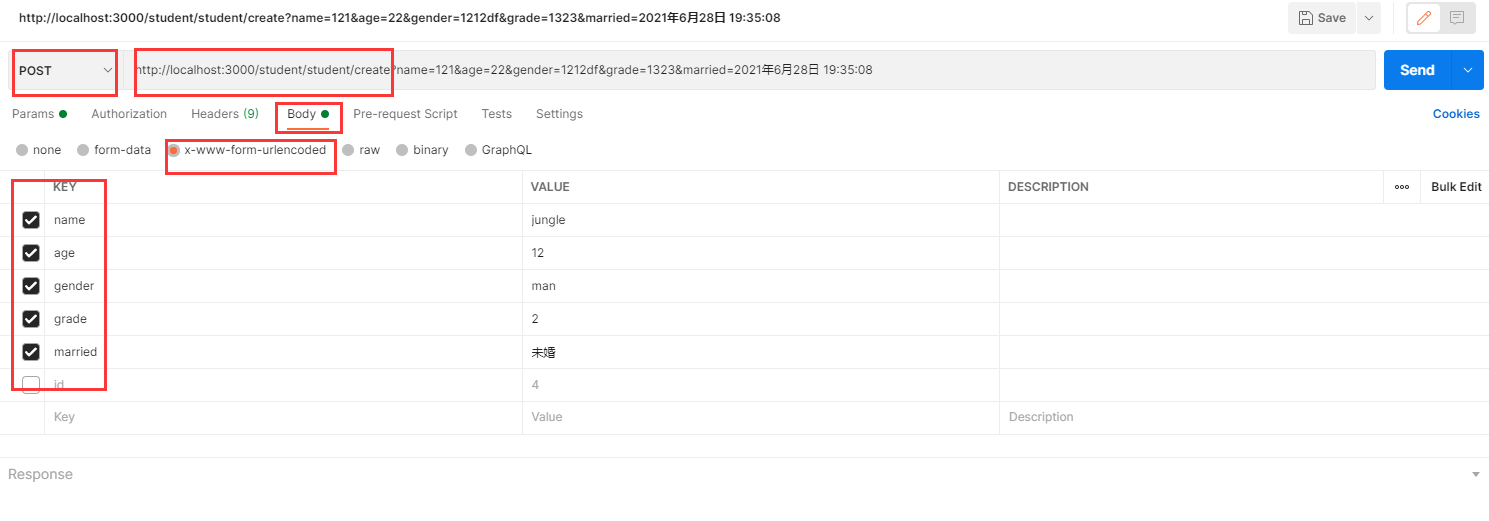
使用Postman软件进行接口的测试 创建一个student的测试接口为: http://127.0.0.1:3000/student/student/create
查询一个student的测试接口为: http://localhost:3000/student/student/1
####请求条件选择为:
POST请求
如下图所示
点击《send》请求后,返回的信息如下:
1
2
3
4
5
6
7
8
9
10
11
12
13
14
{ "code" : 200 , "msg" : "创建学生信息成功" , "data" : { "id" : 1 , "name" : "jungle" , "married" : "未婚" , "age" : 12 , "gender" : "man" , "grade" : "2" , "createdAt" : "2021-06-10T12:19:20.000Z" , "updatedAt" : "2021-06-10T12:19:20.000Z" } }
接口返回成功后,我们去数据库里看一下这个表
可以看到,已经在下koa_demo这个数据库中创建了一张student新表,且内容也是我们刚才进行添加的信息
over 关于koa2的项目搭建先简单介绍到这里吧,算是对简单所学知识的一个小总结。


 微信
微信 支付宝
支付宝